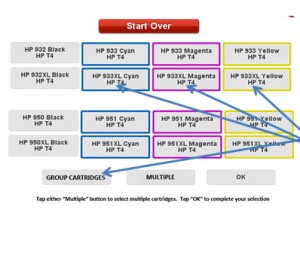
These cartridges come in two sizes. The 932/933 cartridges are a smaller format. The 950/951 cartridges are a bit larger. Both versions have Standard and XL sizes.
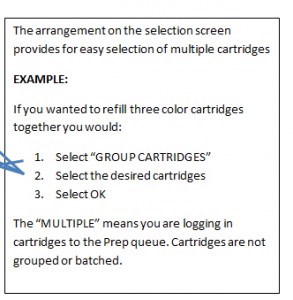
You can refill a group of cartridges simultaneously

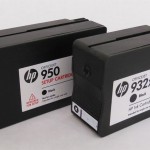
VERY IMPORTANT: This cartridge will need a new chip placed over the original one as part of processing.
Read and acquaint yourself with the new Acceptance Card. It will be important to educate the customer.
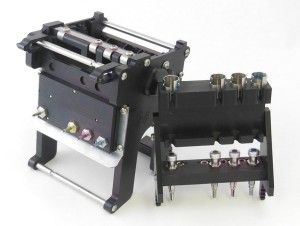 |
This adapter comes in two parts. |
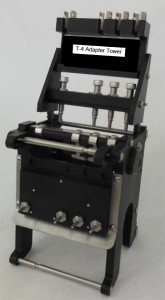 |
This is the complete adapter |
 |
Fill Steps: Luckily, there are not too many steps to filling these cartridges. If you already know how to refill cartridges on the InkCenter you may just need to get used to this very large adapter. The best news is that you can refill up to four cartridges simultaneously. The Selection Screens have many options for you as you will see.
- You can combine cartridges and group them in one fill batch
- You can mix XL and Regular cartridges in the same batch
- Only one of each color can be batched (You cannot fill two cyan cartridges at once for instance)
- Any cartridges of this family can be batched: 932 / 933 / 950 / 951
|
  |
 |
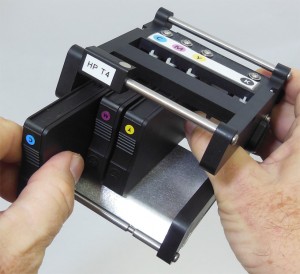
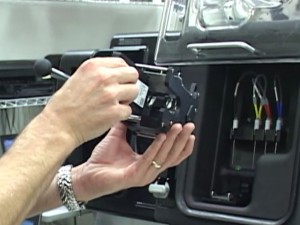
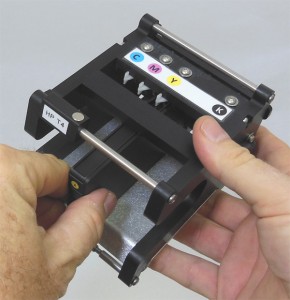
| Step 1:Go to the touchscreen and login the cartridge.Holding the adapter to expose the bottom, (see image) you can load in one or an entire set of cartridges CMKY, all at the same time. Each cartridge is loaded and clicks into place. This works the same way as putting it in your printer. (a little like clicking-in an SD card to a computer) You would push once again to release the cartridge.It is possible to place a cartridge in the wrong color slot. Follow the color dot guides on the adapter. |
 |
| When inserting the cartridge into the adapter ensure the white fin swings over to the right and locks/clicks into place.Notice the three white fins visible under each colored dot. |
 |
| Step 1 Continued: When you turn the adapter over you will see the cartridges loaded properly. |
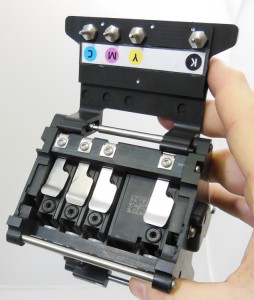 |
| Step 2:Only the bottom section of the two part assembly is used for Prep. The Prep flap swings around from the front, this is the opposite of all other adapters which swing down from the back.Because these cartridges are tanks the prep time will be shorter than IPH cartridges.
Unlike other prep flaps, this one slides out a bit as it swings over. Forcing it may cause damage
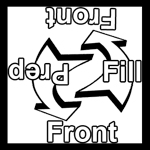
This label will help you to identify which side should be UP when you are ready for either the Prep step or the Fill step.
|
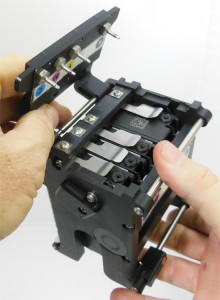 |
| Step 3:Highlight the ID tag on the touchscreen and place the bottom part of the adapter in the Prep station. Prep will begin.You may first need to initialize the adapter if the machine has never seen it before. |
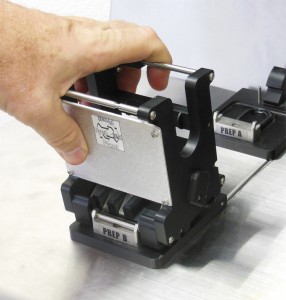 |
| Step 4:After Prep, take the adapter out of the Prep station and clean. Flip the adapter over. (upside-down)Move the Prep flap away from the bottom of the adapter to prepare it to go into the Fill chamber. Make sure the adapter is this side up now so that the fill hole(s) is/are exposed upward. |
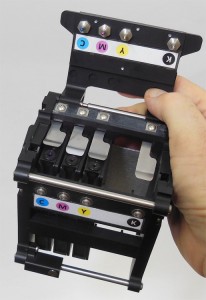 |
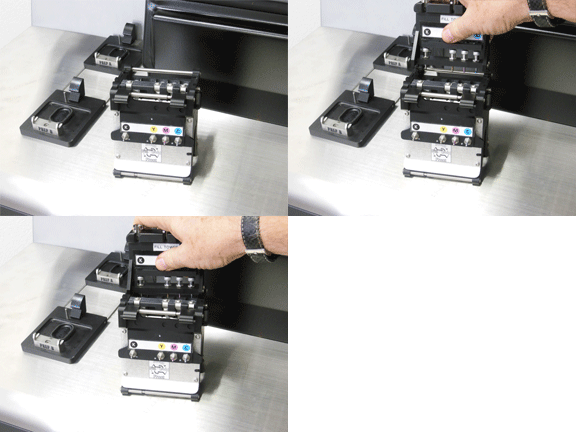
| Step 5: Highlight the ID tag on the touchscreen.Set the adapter down on the workspace and place the top (tower) on to the bottom part of the adapter. It should connect down in a snug fashion. It is now ready to go into the Fill chamber.Before locking down the two-part adapter into the fill station, un-holster the injector(s) you are planning to use. It can be difficult to do this if you first lock down the adapter first since it is large and takes a lot of room in the fill chamber.Place the adapter in the fill chamber and place the injector(s) in the correct location according to their color. You will not be inserting the injector(s) from the top as there is no room so you will place them through the slot from the front and down to lock.
You may be using one to four of the needles depending on the number of cartridges being filled. |
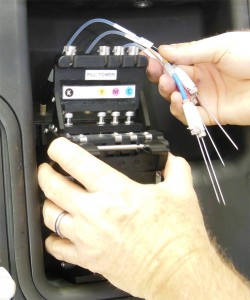 Place injectors in cartridge(s) Place injectors in cartridge(s)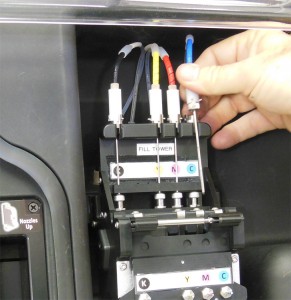 |
| Step 6: After fill just reverse the process. Remove the injectors from the adapter, pull out the adapter, re-holster the injector(s), take off the top (tower) and then you can take out the cartridge(s). Clean. |
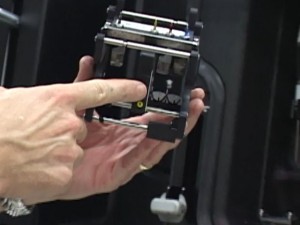 |
| Place a new chip on the cartridge (do not remove the old one)You will need to select the correct chip (one of 16) for the cartridge and place/fix it on the cartridge |
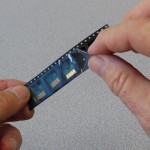 |
|
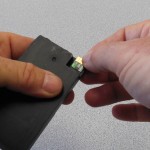
1. First look to see if there is a replacement chip on the cartridge from a previous refill. If so, use the tweezers to pull it off and throw it away. The old chip cannot be used. Never remove the original OEM chip. |
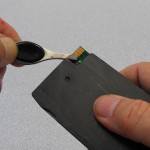 |
| 2. Find the correct chip for the cartridge (remember there are 16) and take off the backing to expose the adhesive. |
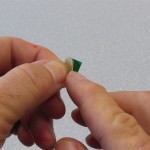 |
| 3. Next, Place the chip directly over the old one with tweezers or fingers. Finally, press with your thumb to secure the new chip. Package as usual. |
 |
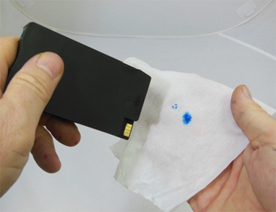
| Testing:Clean up, then test the cartridge with a tap test, in this case you are not testing to get a spot of ink on your wipe but rather that there should be no ink leak there. As you tap the cartridge several times against the wipe the ink spots should diminish until there is no ink coming from the fill port. If the ink track continues, the cartridge is leaking. Fail it. |
 |


