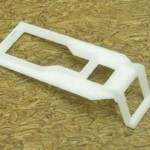
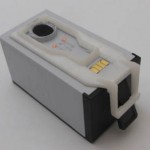
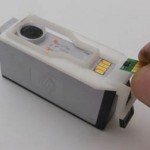
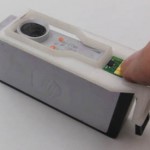
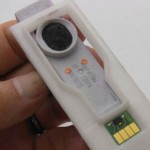
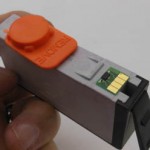
Where applicable you may need to place a new chip on one of these cartridges. Replacement chips can be added for all of these cartridges. This will make the customer experience simpler and more efficient. This tutorial will show you how to put a new chip on the cartridge. You may be removing the original chip first. For repeat refills remove the replacement chip and place on a new one.
There are eighteen total variations represented by 4 colors and STD/XL versions listed in the chart below. Each separate cartridge type will get its own new pre-programmed chip.
|
Cartridge |
C |
M |
Y |
K |
|
934 Std |
N/A |
N/A |
N/A |
HP934CP-K |
|
934 XL |
N/A |
N/A |
N/A |
HP934CP-XLK |
|
935 Std |
HP935CP-C |
HP935CP-MA |
HP935CP-Y |
N/A |
|
935 XL |
HP935CP-XLC |
HP935CP-XLMA |
HP935CP-XLY |
N/A |
First find the correct chip for the cartridge you are refilling. For instance the label on the correct chip for a 364 XL Magenta cartridge would look like this: HP934CP-XLMA
Part of the number tells you which cartridgethe chip goes with. Part of the number tells you that it is an extra-large magenta.
USING THE CHIP PLACEMENT TOOL IS OPTIONAL BUT HIGHLY RECOMMENDED DEPENDING ON THE CONFIDENCE OF THE OPERATOR. THE OPERATOR MAY CHOOSE TO PLACE THE CHIP VISUALLY IN SIMILAR FASHION TO THE HP02 CHIP PLACEMENT.
Using the Chip Placement Tool
This tool will make it easy to place the chip correctly on the cartridge. Remember, if the right chip is not placed in the right position it will not work in the customer’s printer.
This placement tool will do a good job of positioning the chip correctly.
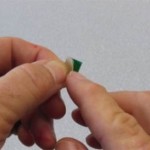
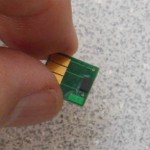 There is a chip built in to the cartridge. Leave it there. The old chip cannot be used. This is what the new chip looks like. It will go over the old one.
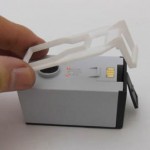
Find the correct chip for the cartridge (remember there is a different chip for each color and XL) take off the backing over the adhesive and place the tool on as shown.
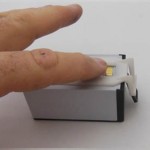
Next, line the tool up so that it slides into place against the side wall as shown in the second picture below. Place the chip in the hole as shown in image 5 below. Finally, press with your thumb to secure the new chip. Be sure to orient the chip as seen in images 4-7. CAREFUL: Placing it upside down will cause it to not work properly. Package as usual.
See and follow installation sequence of pictures 1-6 below:
