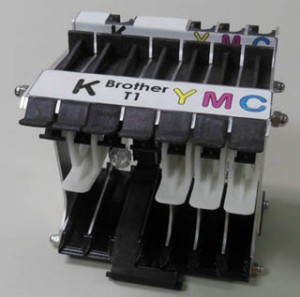
Four (4) Brother ink cartridge series are supported; each family features a slightly different cartridge body design. Both standard capacity and a few high capacity tanks are offered.
BEFORE YOU PROCEED the machine must be prepared for Brother. There are three things that must happen first: RIS must install the software for servicing the Brother cartridges, 2. Install ink bottle number 26, 3. PRIME LINE 26
The Brother adapter will:
- Process all Brother cartridges in the chart above
- Can process 4 cartridges simultaneously
- Never be used in the Drill, Prep, or Test stations
You may want to go ahead and place the adapter in the fill chamber to start. Place injectors into the adapter and then load cartridges as desired. This will make it easier to load and remove cartridges correctly.
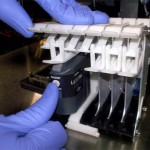
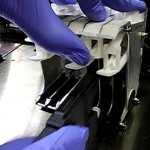
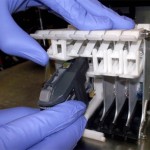
When installing ALL Brother Series ink cartridges into the adapter, first align cartridge top rail under adapter latch. Next, lift and hold the adapter latch before inserting the cartridge, to aid cartridge installation. Last, release the latch to lock cartridge into place. Don’t slide and push into the slot without lifting the tab as you could pop-off the cartridge chip.
Cartridge’s top rail (align under adapter latch)
When installing cartridge into adapter some resistance will be felt, this is normal. Gently maneuver and push cartridge until it locks into position. Cartridge will have a little play (i.e. can move around a little) when installed – this is normal.
Ensure cartridge is properly aligned and seated in place.
NOTE: To remove any cartridge from the adapter, simply lift the adapter latch and pull cartridge out.
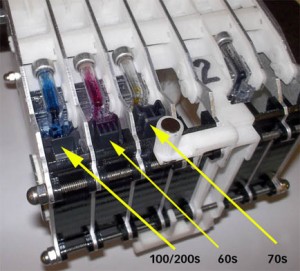
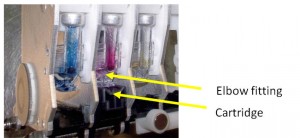
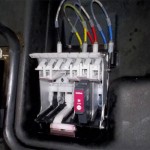
To ensure cartridge is properly installed into the adapter, look at rear side of adapter. The cartridge body should be FLUSH with the adapter elbow fitting.
Since cartridge types vary by family type, you will observe some cartridge bodies extending beyond the elbow fitting – this is completely normal.
With the 70’s models it is especially important to make sure the cartridges are fully seated in the adapter or they can leak during the fill step. See image above.
Install adapter into fill chamber. Select the cartridge ID tag. Place the injector in the top of the adapter and twist to lock into place. Close the door.
CAUTION: REMOVE INJECTORS BEFORE UNSNAPPING / DISCONNECTING ADAPTER OR INK WILL BE AUTOMATICALLY PULLED (DRAINED) OUT OF THE CARTRIDGE WITHIN A FEW SECONDS!
Following the refill process, remove injector and lift adapter latch to release cartridge.
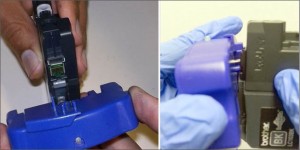
Reset all cartridge chips (that have chips) using the Brother Chip Re-stter “BROTHER B1”. Align the pins with the cartridge chip; the red LED/light will flash a couple of times and then a solid green LED/light should be visible showing the reset was successful.
TIP: It is suggested to avoid placing the chip re-setter on a flat surface. Hold the re-setter/cartridge with two hands and visually align the pins to the re-setter contacts until the GREEN light is visible – refer to adjacent photos.

